

Your Essential Oil Candles Recipe: A Sunshine Coast Guide
You're probably here with a bag of soy wax, a little bottle of essential oil, and that hopeful thought of, “Surely I can make one gorgeous candle myself.”
You absolutely can.
There's something lovely about lighting a candle you made with your own hands. It changes the mood of a room in a way that feels personal. Not just scented, but familiar. A bit like baking for someone you love, except the reward lingers in the air long after the making is done. From our Sunshine Coast studio, we've always believed fragrance should feel joyful, comforting, and a little transporting.
An essential oil candles recipe can look fiddly at first glance, especially when temperatures and scent loads start appearing. But once you understand what each step is doing, it all feels much simpler. You don't need a factory setup or fancy jargon. You just need the right materials, a steady method, and a bit of patience.
Table of Contents
- Welcome to the World of Candle Making
- Gathering Your Candle Making Gear
- The Heart of the Recipe Wax Wicks and Scent Load
- The Pouring and Curing Process
- Creating Your Signature Scent Essential Oil Blends
- Troubleshooting Common Candle Conundrums
- Candle Safety and Labelling Essentials
Welcome to the World of Candle Making
My first homemade candle wasn't perfect. It set a little unevenly, the wick leaned off to one side, and the scent was far softer than I'd hoped. But when I lit it that evening, with the windows open and salty Sunshine Coast air drifting through the house, it still felt special. I'd made something with my own hands, and that feeling sticks with you.
That's why I love sharing an essential oil candles recipe with beginners. You don't need to be wildly crafty. You don't need to know all the technical terms. You just need a good starting point and a little confidence to have a go.
If you already love the ritual of burning Australian-made candles, you'll probably enjoy learning a bit more about why locally crafted candles feel so special in Australian homes. Making your own gives you that same appreciation from the inside out.
A handmade candle is never just wax and wick. It holds mood, memory, and the tiny choices that make a home feel like yours.
There's an art to it, yes, but there's also a rhythm. Melt, cool, blend, stir, pour, wait. Once that rhythm clicks, candle making feels far less intimidating and far more relaxing. A bit messy sometimes. But in a very satisfying way 🙂
Gathering Your Candle Making Gear
Before you melt a thing, get your little workspace sorted. This is one of those hobbies that feels calm and creative when everything's within reach, and oddly chaotic when you're searching for a thermometer with wax on your hands.
You don't need a professional studio setup. A clean kitchen bench works beautifully.
Your basic making kit
- Soy wax: Choose 100% natural soy wax for a creamy finish and the style of clean burn many Australian makers prefer.
- Containers: Heat-safe candle jars or tins are the easiest place to start.
- Wicks: Match the wick to the width of your container so the candle can form a proper melt pool.
- Essential oils: Pick oils you love. You'll enjoy the process much more if the scent already makes you smile.
- Kitchen scales: This is one tool I wouldn't skip. Measuring by weight gives you far better consistency.
- Thermometer: Important for knowing when your wax is ready for fragrance.
- Pouring pot or heat-safe jug: Something easy to handle and pour from.
- Saucepan: For a simple double-boiler setup.
- Wick holders: Paddle pop sticks, pegs, or proper wick bars all do the job.
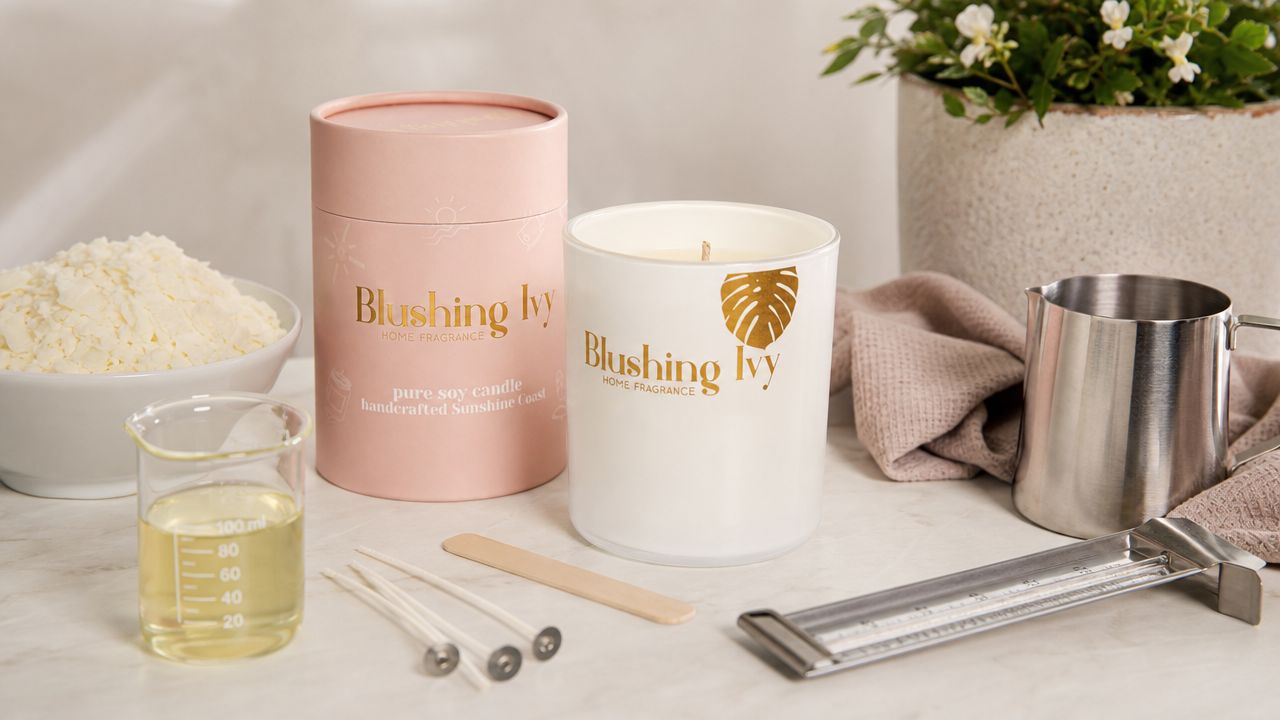
If you'd like a real-world example of a finished soy candle, our Classic Soy Candle uses lead free, cotton wicks, 100% pure, vegan friendly soy wax, and Australian Made essential oil based fragrance. It's the kind of straightforward construction many home makers aim for when learning what a balanced candle should feel like.
Set yourself up for an easy pour
A few small habits make the whole session smoother:
- Clear the bench: Give yourself enough room for wax, jars, and tools without crowding.
- Prepare the jars first: Wick them before you melt the wax. You won't want to fuss with this later.
- Keep notes nearby: If a blend turns out beautifully, you'll want to remember exactly what you did.
That last one matters more than people think. The difference between “that smelled amazing” and “I can make that again” is usually one scribbled note on a scrap of paper.
The Heart of the Recipe Wax Wicks and Scent Load
A good candle recipe behaves a bit like a balanced bake. Too much of one ingredient and the whole thing changes. With candles, the balance sits between the wax, the wick, and how much scent the wax can comfortably hold.
If you want a fuller picture of how soy behaves in our warmer months and cooler evenings, this guide on soy wax candles suited to Australian conditions is a lovely companion read.
Why soy wax behaves differently
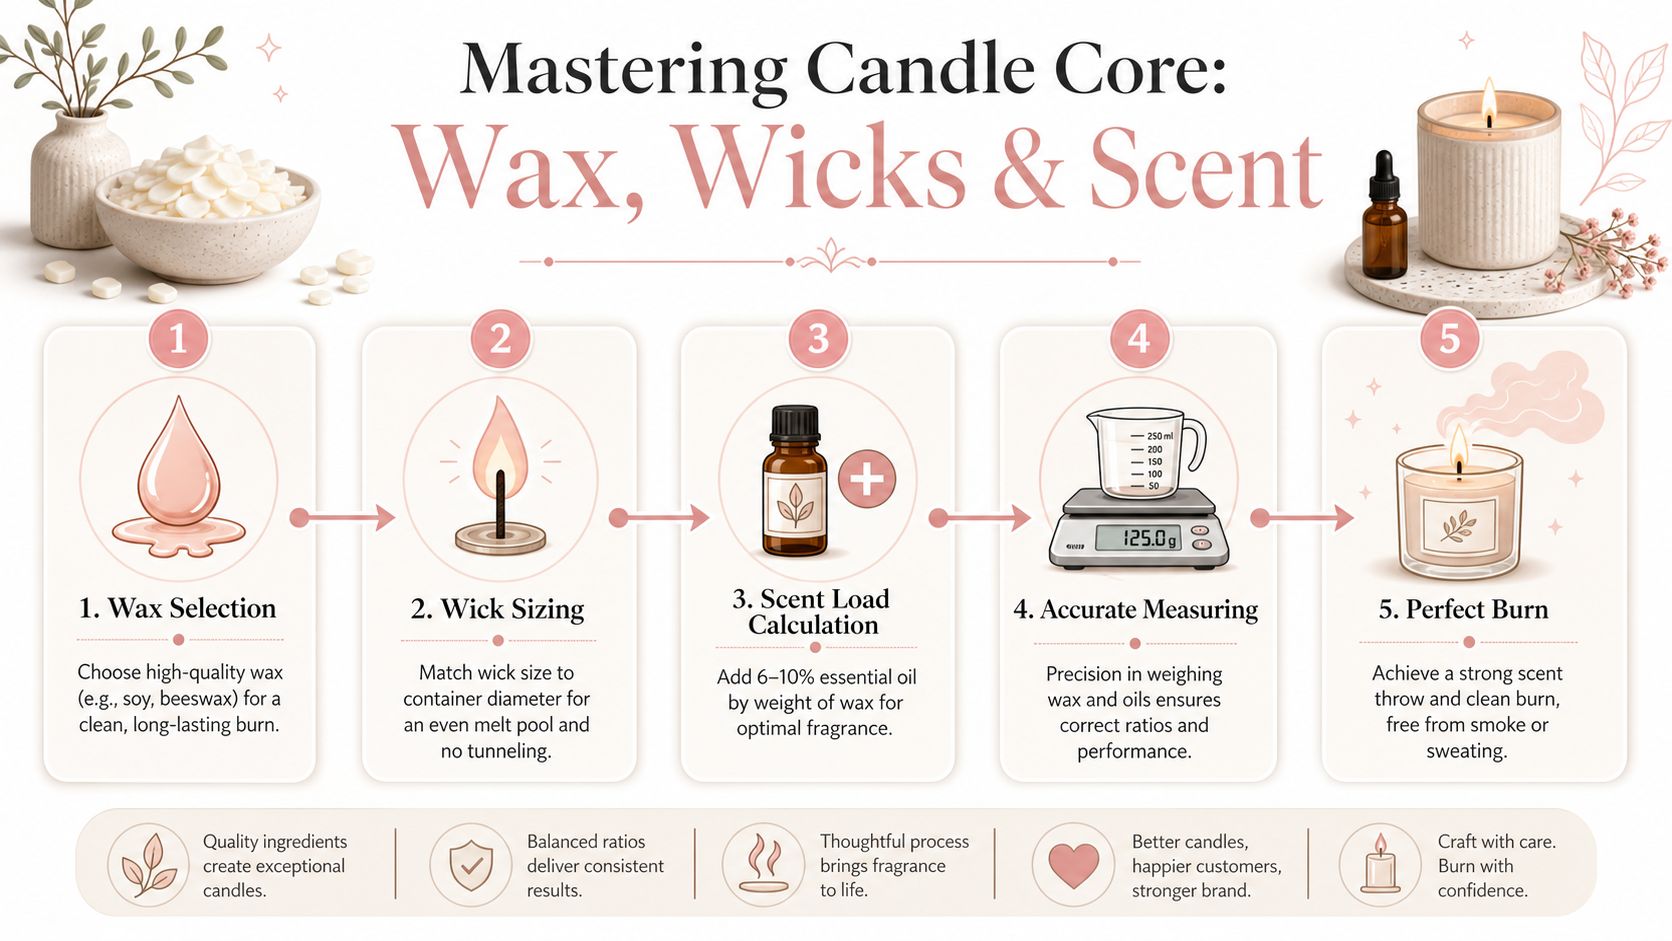
The standard fragrance load for natural soy wax often sits in the 6% to 10% range by weight. The exact sweet spot depends on your wax, your oil blend, and even the weather on the day you pour. Here on the Sunshine Coast, that matters more than many overseas guides admit. A humid afternoon can make soy feel softer and slower to settle, while a cool change can shift how the surface sets.
Soy is a softer, more temperamental wax than it first appears. It can make beautiful candles with a creamy finish and a gentle burn, but it does not reward overloading. If you add too much essential oil, the wax can sweat, the surface can look patchy, and the burn can become smoky or uneven.
A better goal is harmony.
Wax, wick, and scent need to match
These three parts work together. If one changes, the others usually need adjusting too.
- Wax holds and releases the fragrance.
- Wick controls how much wax melts during the burn.
- Scent load affects both throw and burn performance.
That relationship trips up plenty of new makers. A stronger scent does not always come from adding more oil. Sometimes it comes from using the right wick so the melt pool is wide enough to release the fragrance properly. If the wick is too small, the candle may tunnel and smell faint even if your blend is lovely. If it is too large, the candle can burn hot and race through the top notes.
A simple ratio example
Here is an easy starting point:
| Wax amount | Essential oil amount |
|---|---|
| 500g soy wax | 30g to 50g essential oil |
| 100g soy wax | Keep within the same 6% to 10% by weight range |
For a standard 120ml Australian candle jar, many home makers use about 100g of soy wax. In a batch that size, weighing your oil in grams will give you a more repeatable result than counting drops. Drops can vary depending on the oil and the bottle insert, so they are better kept for tiny experiments than for a candle you want to remake later.
If you are wondering where beginners usually go wrong, it is here. They follow a recipe in drops, swap to a different essential oil, and end up with a completely different strength. Scales remove that guesswork.
Why wick choice changes everything
The wick is not just there to carry a flame. It acts like the engine of the candle, pulling melted wax upward and setting the pace of the burn. A wider jar usually needs a stronger wick than a narrow one, and soy often needs careful testing because its melt pool develops differently from paraffin.
Cotton wicks are a popular choice for soy because they are simple and reliable. Still, there is no universal wick that suits every jar, wax, and scent blend. Heavier blends, especially resinous or woody Australian-inspired scents, can sometimes behave differently from lighter citrus or herbal profiles. A fresh lemon myrtle blend may burn one way. A richer blend with sandalwood notes may need a different wick size to perform well.
Protect the delicate notes
Temperature matters during the fragrance step because essential oils are full of volatile aromatic compounds. If the wax is too hot, brighter notes such as citrus, eucalyptus, and soft florals can fade before the candle has even cured. Letting the wax cool slightly before adding your scent helps preserve that character, especially if you are working with botanicals that have a fresh, lifted profile.
This is one of those quiet little differences between a candle that smells pleasant and one that feels beautifully layered when you burn it at home.
The Pouring and Curing Process
Once your fragrance is in, the next few minutes matter. During this time, a candle can become beautifully even and well blended, or a little patchy and unpredictable.
What to do after adding the oil
After adding your essential oils, stir gently for exactly 2 minutes to help the oil disperse evenly through the wax. According to this candle making protocol guide, clean-burning, high-scent-throw candles drop to below 50% success when pour temperatures go above 55°C, while pouring within 50–55°C yields an 85–90% success rate.
That sounds technical, but the practical takeaway is simple. Stir properly, then pour while the wax is in that sweet spot. Not too hot, not cooling into sludge.
Why curing matters
Pour slowly into your prepared jars and keep the wick centred. Then leave the candles alone. No poking, no moving them from bench to shelf every ten minutes, no lighting them that same evening because you're curious.
A calm curing period gives the wax and fragrance time to settle together. It's one of the least glamorous parts of candle making, and one of the most important.
- Choose a steady spot: Avoid draughts or sudden temperature changes while the candles set.
- Let the tops settle naturally: Minor surface variations can happen, especially with soy.
- Be patient before testing: A freshly poured candle rarely shows its best self straight away.
If your candle looks set, that doesn't always mean it's ready.
This is the quiet part of the process. And it teaches patience better than most hobbies do.
Creating Your Signature Scent Essential Oil Blends
This is the delicious part. The playful part. The bit where your essential oil candles recipe becomes yours instead of someone else's.
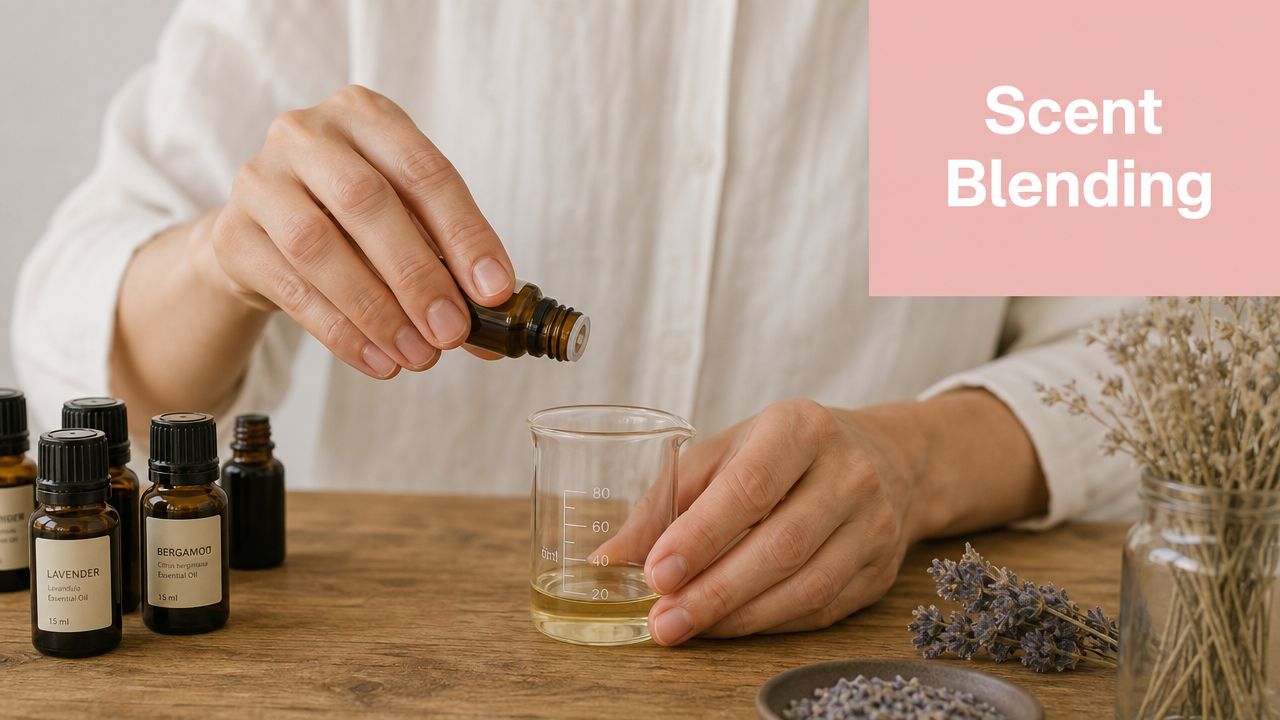
I always think scent blending is a little like styling a room. One note on its own can be lovely, but layered notes create atmosphere. Softness. Depth. That sense that something is unfolding as the candle burns.
If you enjoy learning about what goes into a balanced botanical fragrance, our thoughts on essential oil purity might help you choose your oils more thoughtfully.
Think in layers not just ingredients
In Australia, the recommended essential oil-to-wax ratio for soy candles is 6–10% by weight, and going over 10% can cause oil pooling and affect burn quality because soy doesn't retain fragrance as strongly as paraffin, as noted by Ivy & Wood's soy candle guidance.
That matters when you're blending, because every drop contributes to the total. It's easy to get excited and keep adding “just a little more lavender” until the recipe tips too far.
A simple way to build a blend is to think in notes:
- Top notes: The first impression. Bright, fresh, sparkling.
- Middle notes: The heart of the scent. Floral, herbal, rounded.
- Base notes: The anchor. Warm, woody, grounding.
Three blend ideas inspired by home
For a bright, uplifting candle that feels like a Queensland morning with the windows open, try Lemon Myrtle, Eucalyptus, and Sandalwood. It feels crisp and clean, with that breezy bush-meets-coast character so many of us love.
For something deeper and moodier, take inspiration from the Wild Heath Society range and explore Cedarwood, Patchouli, and Frankincense. This sort of blend suits winter evenings, dim lamps, and quiet corners of the house. Elegant, but still warm.
For a softer floral profile, Geranium, Lavender, and Ylang Ylang can feel beautifully nostalgic. It's the kind of scent that turns an ordinary bedroom into a gentler space.
A quick visual can help if you're a more hands-on learner:
Make sure to write your blends down as you go. The candle you make on a happy, distracted Saturday afternoon might become your favourite, and memory is not nearly as reliable as we like to think.
Troubleshooting Common Candle Conundrums
Every candle maker has a batch that misbehaves. Sometimes the top goes lumpy. Sometimes the wick tunnels. Sometimes the scent seems shy, even though the blend smelled gorgeous in the bottle.
That doesn't mean you've failed. It just means the candle is telling you what went wrong.
When the burn looks wrong
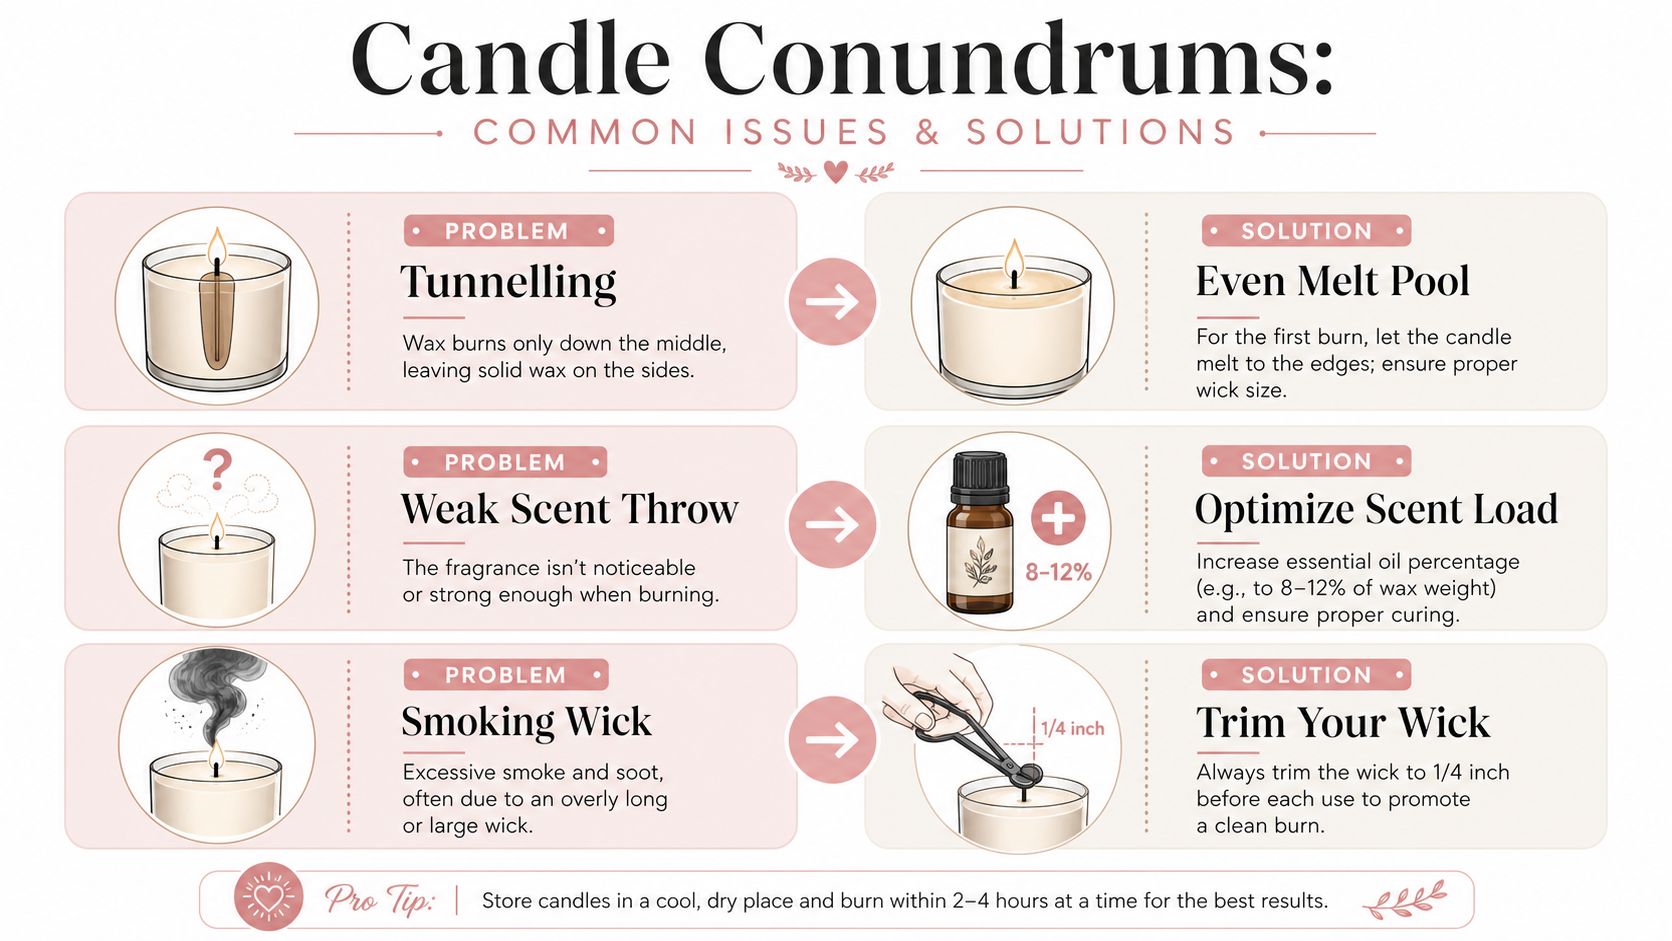
If your candle burns down the centre and leaves wax around the sides, that's usually tunnelling. Most often, the first burn wasn't long enough to create a full melt pool.
If the surface looks rough or cracked after setting, the wax may have cooled too quickly. A less draughty room often helps. Soy likes a calm environment.
When the scent feels too soft
Australia's climate complicates things a bit. Essential oils don't always behave the same way through humid summers and cooler months. Existing recipes often skip this entirely, even though there's a recognised gap around adjusting drop counts by 20–30% for seasonal humidity in places like Melbourne or Sydney.
That doesn't mean you should start throwing in extra oil carelessly. It means testing matters. If a blend feels lighter in sticky summer weather, make careful notes and adjust thoughtfully within safe limits.
- If the hot throw is weak: Review your wax temperature, mixing, and overall scent load before changing everything at once.
- If the candle smokes: Check whether the wick is too long, or whether the wax was overloaded with oil.
- If each jar smells different: Mixing may not have been even enough across the batch.
Small changes beat dramatic ones. Test one variable, then test again.
That's how confidence grows. Not from one perfect batch, but from understanding why each batch behaves the way it does.
Candle Safety and Labelling Essentials
A beautiful candle still needs to be a safe one. That's part of making something you'd feel proud to burn in your own home, or hand to a friend as a gift.
A key safety practice in Australian candlemaking has been staying below the 175°F (79°C) threshold when adding fragrance, because going above that point has been linked to more complaints about poor hot throw and residue burning, as discussed in this Australian candle safety article. Safety standards like this exist for a reason. They protect the fragrance, the burn quality, and the person using the candle.
Keep the wick trimmed to about 5mm before each burn. Keep the candle away from draughts, children, pets, and anything flammable. Never leave it unattended.
If you're gifting your candle, add a simple label underneath with basic burn and safety instructions. It's a small touch, but it makes the finished piece feel thoughtful and complete.
If you love the world of fragrance but don't always feel like making from scratch, you can explore Blushing Ivy Home Fragrance for Australian-made home scents inspired by everyday rituals, relaxed interiors, and the kind of beautiful aromas that make a house feel instantly more welcoming.